Almost everybody loves a fresh baked and delicious bread. The smell of fresh bread permeating throughout the house is a real treat. In my household everyone wants to eat the bread hot before it is properly cooled – can you blame us? There is just something pleasurable about eating a slice of hot bread smeared with butter that melts quickly.
Don’t be intimidated by baking your own bread. The thing with bread baking is that you really need to follow the recipe just about exact, especially the ingredients measurements. Proofing time is slightly subjective because everyones temperature in their room varies a bit. But do stay within the recommended ranges.
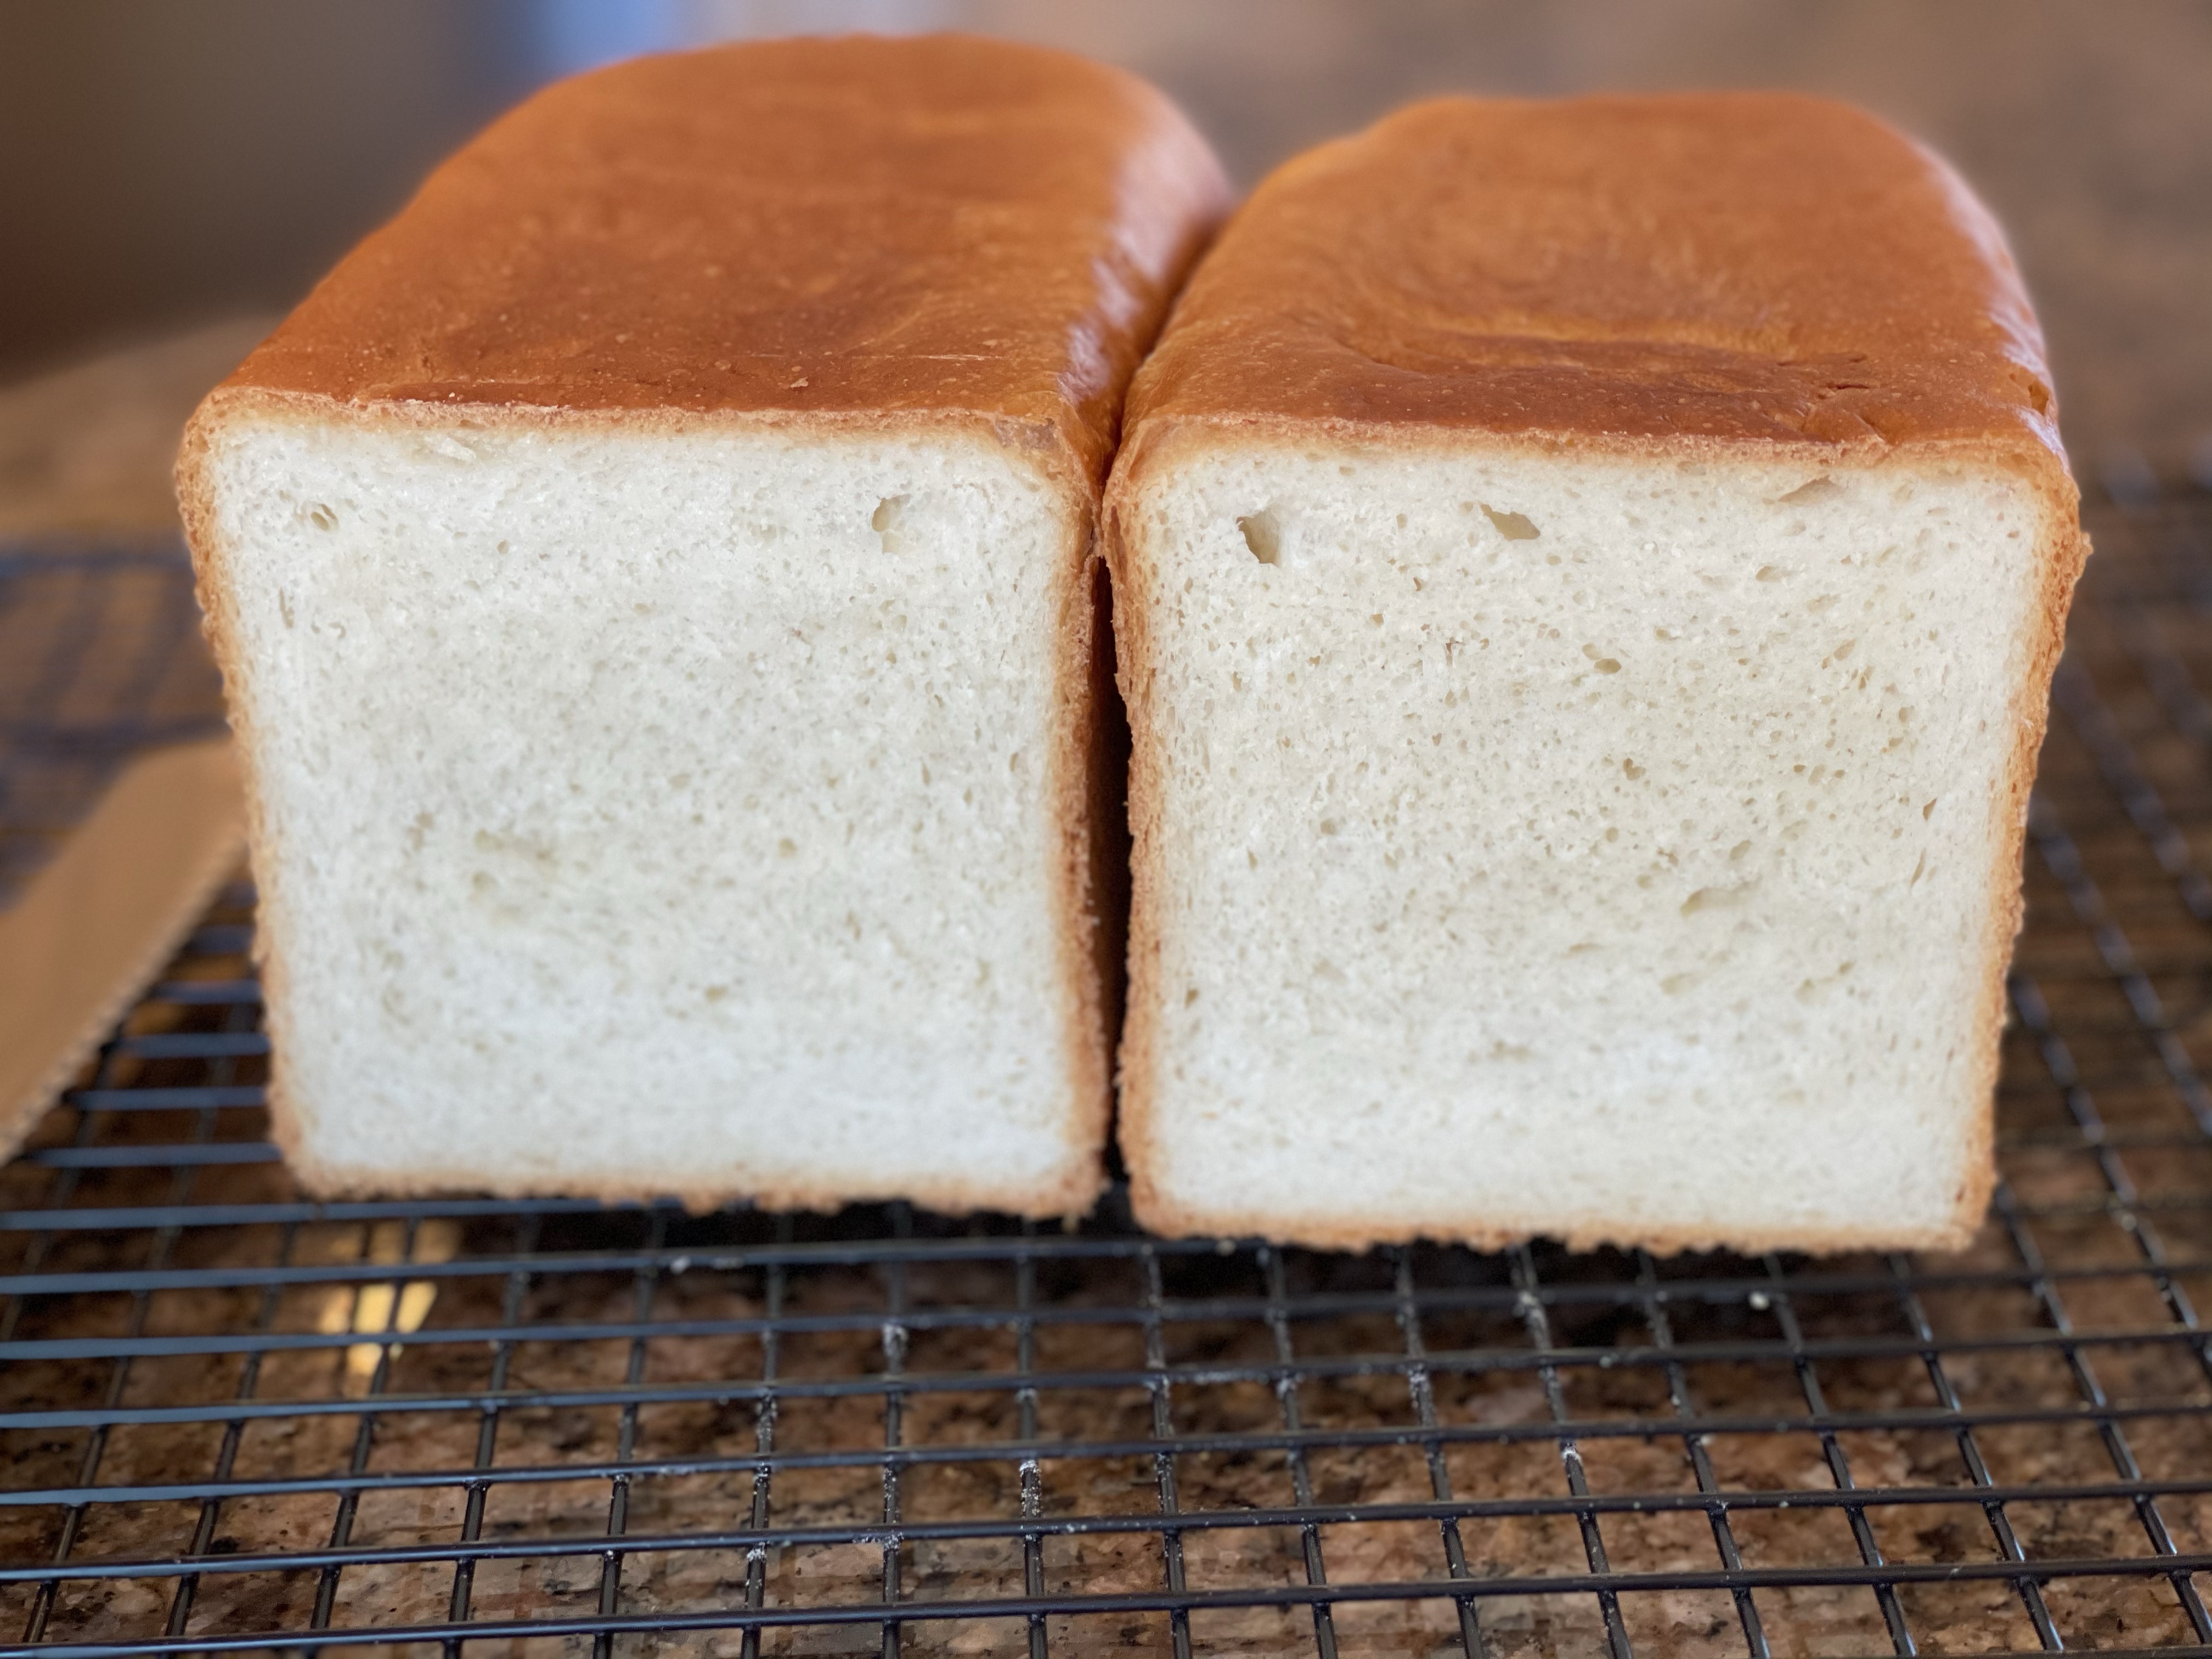
For this sandwich bread, a pullman pan, which is basically a loaf pan with a cover, is best for creating the perfect sandwich bread. But if you don’t have a pullman pan feel free to use one or two loaf pans. Either way the bread will be amazingly delicious. Enjoy and Happy Cooking!
For this Bread I used these equipment/ingredients available through Amazon
Pullman Pan Yeast Milk Powder
You may enjoy these bread recipes:
Tennis Rolls | Guyanese Style Sweet Bread
Want more wholesome and healthy recipes? Sign up for exclusive email updates. Follow Us on Social Media: YouTube, Pinterest, Instagram,Twitter, Facebook, ,Linkedin

Pain De Mie | Pullman Sandwich Loaf Bread
Equipment
- Stand Mixer
- 12 inch pullman loaf pan or 2 regular size loaf pans. Non stick spray for greasing the pan.https://amzn.to/38OvHXx
Ingredients
- 500 grams all purpose flour
- 5 grams rapid rise or instant yeast
- 20 grams granulated sugar
- 20 grams milk powder https://amzn.to/3qGbfOz
- 10 grams sea salt or kosher
- 39 grams unsalted butter room temperature
- 317 grams water room temperature or 75 to 85 degrees
- One egg, beaten until an egg wash consistency. (this will be used to brush the dough after the final shape)
Instructions
Let's Mix The Dough:
- Add all the dry ingredients into the bowl of a stand mixer. Use a spoon or spatula to mix for a few seconds until combined.
- Add the room temperature butter and water. Attached the dough hook. Turn on the mixer on low speed. and mix until the wet and dry ingredients are combined into a soft sticky dough.Note: This usually takes about 2 minutes.
- Once a soft sticky dough has formed turn up the mixing speed to medium-high.Note: On my mixer this was a level 6. I use a kitchen aid mixer.
- Mix the dough using this level 6 intensive mix speed. You want to mix the dough for 20 to 25 minutes. You will hear and see the dough bouncing around the mixing bowl – this is what you want.
- Check the dough 2 to 3 times throughout the mixing to check for a "window." To check for a window, take a piece of the dough in one hand and using the other hand, gently stretch the dough. This is to determine if the dough has developed sufficient gluten. When stretched and enough gluten has developed the dough should be smooth to the touch and it should not break easily. See tutorial video link in notes.
Let's Proof the Dough:
- Lightly oil a large mixing bowl. Remove the dough from the mixing bowl once it has developed sufficient gluten and it's smooth. Form a round and place it in the bowl. Cover with plastic wrap. Place the dough in a draft free location and allow to rise until doubled. About 1 hour, generally.Note: Doubling of the dough will range from 45 minutes to 1 hour. This is because the dough gets very warm during the intensive mixing coupled with the temperature in your room. The warmer the room the faster the dough will rise.
Let's Shape the Dough:
- Since the dough makes one loaf to fit a 12 inch pullman pan (loaf pan with cover .https://amzn.to/2OmdVDG I final shape the dough at this stage.Note: If you are using the dough to make two smaller loaves, you will need to divide into two. Form rounds of each and let it rest for 15 to 20 minutes. Then follow with final shaping.
- The final shape of the dough is a log shape. To create this shape, place the dough on the work surface. Gently stretch the dough to form a rectangle about 6" by 4".
- Now you can begin to shape the log. Take the top of the wider side of the dough and fold it towards the center, about 1/3 of the way towards the center. Press the seam dough gently.
- Now place one hand over the folded section of the dough starting at the edge, place the thumb of the same hand on the seam. Now fold the dough over the thumb (Move the tumb away as you fold. Use the palm of the other hand to seal as you fold. If needed repeat with one more fold until the dough looks like a log.
- Keeping the seam side down, use the loaf pan as a measuring guide to determine if the log needs to be longer to fit the pan within 1/2 to 3/4 inch from the corners. To stretch the dough longer, keep the seam side down and place both hands ontop of the dough. Use rolling motion, keeping the seam down all the time, until the dough is stretched out long enough to fit the pan within no more than an inch from the long corners.
Final Proofing:
- Lightly, but be generous, spray the Pullman or loaf pans with your choice of non-stick spray.Note: I used this Pullman pan. https://amzn.to/38OvHXx
- Gently transfer the shaped log dough, seam-side down, into the pan. Use a brush to lightly brush the top of the dough with the egg wash. Cover the pullman pan. Place the pan in a draft free loaction and allow to proof/rise until the dough fills the pan to about 90%. This will take 1 1/2 to 2 hours depending on the temperature in your room. Be sure to check at the 1 1/2 hour mark.Note: If using loaf pan(s), egg wash and cover with plastic wrap. My dough took 1 1/2 hours to proof to 90% of filling the pan.
Let's Bake the Bread:
- Preheat the oven 400F Degrees.
- Place the pullman or loaf pan(s) ontop of a sheet pan to aide in transfering the pan to the oven.
- Bake in the preheated oven for 50 to 60 minutes. The dough will sound hollow when tapped gently. Note: My bread took 50 minutes to bake.
- Once the bread is cooked, transfer onto a wire rack and allow to cool 1 hour before slicing.Note: The bread will come out of the pan very easily.
- Slice to your desired thickness. Serve warm with butter, or use to make your favorite sandwich. Enjoy!
Leave a Reply