
Absolutely delicious. This is the perfect red beans and rice with very simple ingredients. The two ingredients that makes this side dish so yummy are the dry red beans and basmati rice. Yes, it takes time to soak the beans overnight and then cook it first before adding it to the rice. It makes a tremendous difference in the taste. What’s more is the use of the red beans broth that gives it excellent color. The basmati rice is a must – I love the grain of this aromatic rice and it cooks very quickly.
Cooking the red beans until it is very soft makes a big difference in the flavor and texture of the finished dish. Since the rice cooks very quickly, as mentioned, you really want the beans cooked until it’s super tender. You can certainly use a pressure cooker to cook the beans fast; I don’t use a pressure cooker due to an accident I experienced when I was young.
I have many variations of beans and rice using canned beans. Many of my other versions uses chicken broth for extra flavor. This particular recipe has so much rich flavor and is vegetarian friendly. I hope you will enjoy this amazingly delicious red beans and rice as much as us. Happy Cooking!
Jump to Recipe
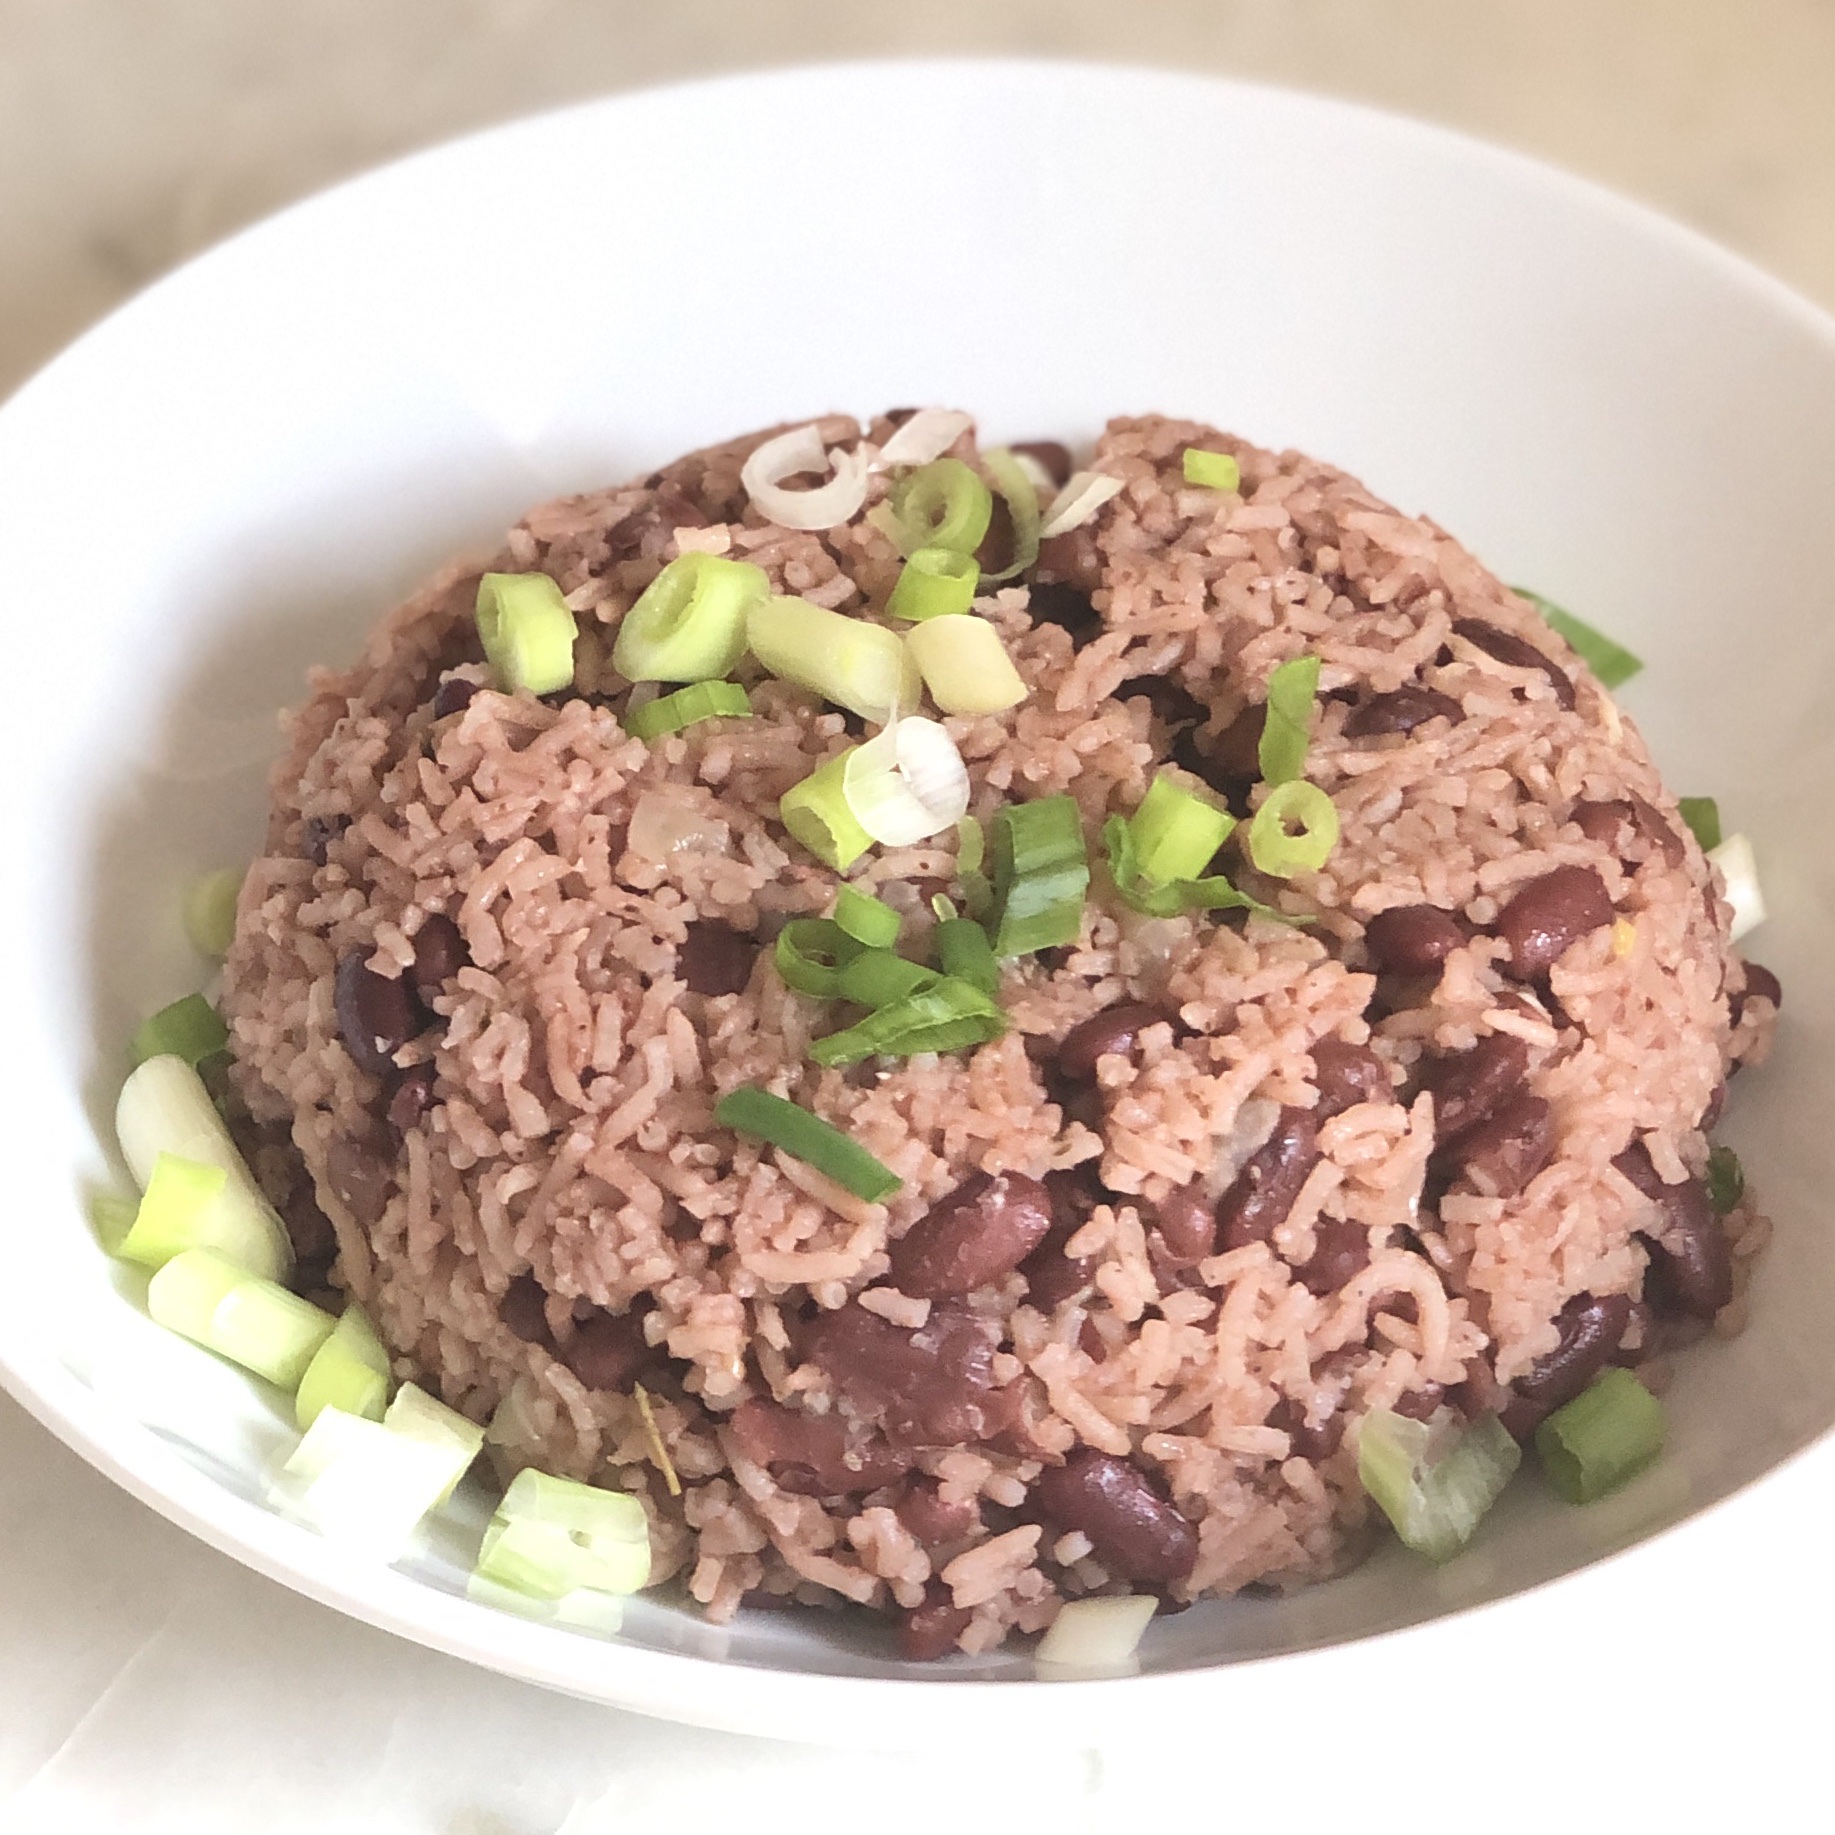
Perfect Red Beans and Basmati Rice
Ingredients
FOR THE RED BEANS:
- 8 ounces dry red beans
- 6 cups water
FOR THE RICE:
- 1 cup basmati rice rinsed until water runs nearly clear
- 1 cup coconut milk
- 1 cup red beans broth (reserve this from the cooked beans)
- 1 small onion diced or chopped
- 1 bunch fresh thyme use the leaves only
- 1 small piece of ginger peeled and chopped finely
- 4 cloves garlic crushed or finely chopped
- 2 tablespoons extra virgin olive oil
- 1 1/4 teaspoons salt
- 1/2 teaspoon black pepper freshly ground
Instructions
MAKE THE RED BEANS:
- Pick over the beans to remove any unwanted stones (usually there is none but just make sure)
- Rinse the beans thoroughly.
- In a medium size pot or saucepan, add the beans and 4 cups of the water. Soak overnight – up to 24 hours.
- Next day – boil the beans over high heat for 10 minutes. Cover tightly and allow to rest 1 hour.Note: This helps to tenderize the beans.
- Add 2 cups water to the pot and boil the beans again – for 1 hour. The beans will be very tender. Reserve 1 cup of the bean broth and drain the beans.Note: You can freeze any remaining water for up to 1 month.
MAKE THE RICE AND BEANS:
- In a 4 to 5 quart dutch oven pot, heat 2 tablespoons olive oil over medium heat.
- Add the onions and sauté 2 to 3 minutes.
- Add ginger, garlic and thyme. Sauté 30 seconds to 1 minute.
- Add the rice. Mix to coat. Cook for two minutes until you hear crackling sounds.Note: This helps to keep the rice from sticking together.
- Add the beans, salt and black pepper. Mix to combine.
- Add the coconut milk and bean broth. Stir. Cover tightly and bring to a boil. Reduce heat to low and simmer for 14 to 15 minutes until the liquid is fully absorbed.Note: It's important to keep a tight lid on the pot during the simmering process – no peeking please.
- Turn off the stove. Fluff the rice gently with a spoon or fork. Rest for 10 minutes before serving.
- Optional: Garnish with freshly chopped scallions. Serve with your favorite entree. Enjoy and Happy Cooking.
Leave a Reply